Follow Me On Social Media!

Easy Easter Egg Brownie Bites: Irresistibly Fun Treats!
Introduction to Easy Easter Egg Brownie Bites
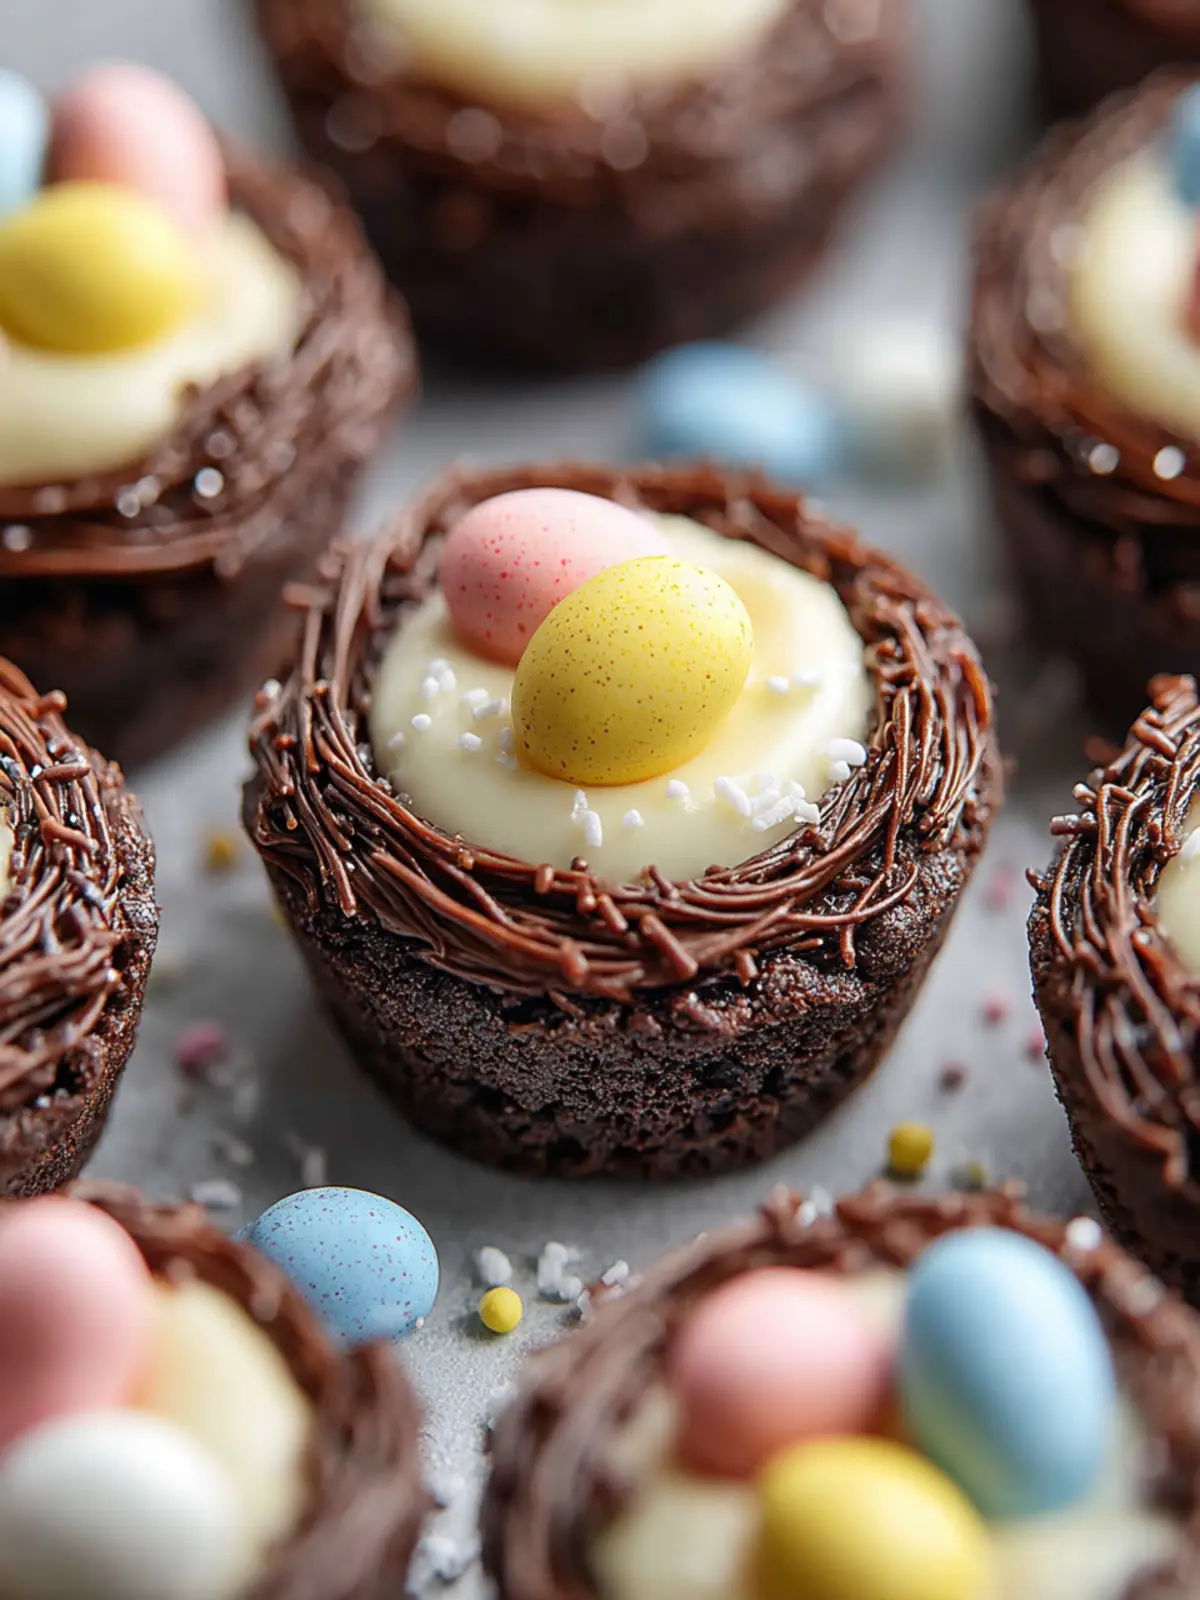
Crafting Easy Easter Egg Brownie Bites is like opening an early surprise from the Easter Bunny, filled with delightful flavors and joyful colors that transform any occasion into a celebration. Picture this: a gathering of friends around the table, laughter ringing in the air, and the irresistible aroma of freshly baked brownies wafting through the room. These delightful bites not only capture the spirit of Easter but also elevate your dessert game with minimal effort.
The charm of these brownie bites lies in their simplicity and adaptability. You don’t have to be a baking pro to whip up a batch that will leave your guests raving. With just a few straightforward ingredients and a bit of creativity, you can create a treat that is as visually appealing as it is delicious. Imagine rich, fudgy brownie bites, topped with colorful Easter candies, making them not only tasty but also a feast for the eyes.
Why Easter Egg Brownie Bites are a Festive Delight
Why settle for plain brownies when you can indulge in these easy Easter egg brownie bites that bring the season’s essence right into your kitchen? They are perfect for sharing at Easter brunch, family gatherings, or even as an afternoon snack that adds a little cheer to your day. These bite-sized treats strike a perfect balance between chocolatey goodness and seasonal flair.
- Visual Appeal: The vibrant candy toppings add a playful touch, making each brownie bite reminiscent of Easter eggs waiting to be found.
- Versatility: You can customize the toppings to cater to different tastes or dietary preferences, whether it’s incorporating nut butter for added richness or swapping out traditional chocolate for white chocolate chips.
- Quick and Easy: From mixing to baking, you can have a batch ready in no time, allowing you to join in on the festivities rather than spending hours in the kitchen.
So, let’s get started on creating something delightful and festive that will bring joy to your Easter celebrations! Next, we’ll tackle the essential ingredients for making these delicious bites.
Key Ingredients for Easy Easter Egg Brownie Bites
The magic of easy Easter egg brownie bites begins with a handful of simple yet delightful ingredients that come together to create a sweet symphony. Each component not only plays its role in flavor but also in texture, making these treats irresistible.
-
Brownie Mix: For a quick treat, I prefer using a boxed brownie mix. It’s convenient and provides the rich chocolate base we crave. Just follow the package directions, and you’ll have a fudgy foundation in no time.
-
Eggs: These little powerhouses add moisture and structure to our brownie bites. Using large eggs ensures that our brownies rise perfectly and have that desired gooey center.
-
Oil: I use vegetable oil for its neutral flavor, keeping the focus on the chocolate. Oil also contributes to a moist, delightful texture that pairs beautifully with the Easter treats.
-
Mini Chocolate Eggs: The star of the show! I recommend using candy-coated chocolate eggs like Cadbury Mini Eggs. They add a whimsical crunch and make your dessert a festive centerpiece.
-
Optional Toppings: If you’re feeling creative, consider adding sprinkles or whipped cream for an extra fun twist.
With these straightforward ingredients, you’ll be enjoying your easy Easter egg brownie bites in no time!
Why You’ll Love These Brownie Bites
Perfect for Easter Celebrations
Imagine a sunlit Easter afternoon filled with laughter, little ones hunting for eggs, and, of course, a sweet treat waiting at the end of the rainbow. These easy Easter egg brownie bites add a delightful burst of flavor and fun to your holiday gatherings. Decorated like colorful Easter eggs, they not only taste divine but also serve as the perfect centerpiece for your dessert table.
Easy to Make and Decorate
No one wants to spend hours in the kitchen, especially when there are memories to create. Thankfully, these brownie bites require minimal ingredients and kitchen time. Simply whisk your ingredients, bake, and voilà! The real fun comes with decorating. You can let your creativity shine by using icing or sprinkles, making them as simple or as extravagant as you like.
Great for Sharing
One of the best aspects of these easy Easter egg brownie bites is how easy they are to share. Whether you’re hosting friends or bringing a dessert to a family gathering, these bite-sized beauties are ideal for passing around. They’re portioned perfectly, making it convenient for guests to grab one—or two!
Kid-Friendly Fun
If you’re looking for a fun activity for the kids, these brownie bites are an excellent choice. Not only can they help in the kitchen, but decorating these treats can become a mini art project. Each child can express their personality through icing colors and toppings, creating a memorable experience that pairs perfectly with the sweetness of the weekend.
Variations of Easy Easter Egg Brownie Bites
When thinking about easy Easter egg brownie bites, it’s hard not to get excited about all the delightful variations you can whip up for your spring gatherings. Let’s explore a few options that will surely impress your friends and family!
Peanut Butter Variation
For those who can’t resist the combination of chocolate and peanut butter, this variation is a game-changer. Swapping out half the butter in your brownie mixture with creamy peanut butter adds an extra layer of flavor. Not only does it enhance the richness of your easy Easter egg brownie bites, but it also gives them a delightful nutty twist. Drizzling melted chocolate on top will take this treat over the top!
Vegan Options
Craving something delicious that aligns with a plant-based lifestyle? You can easily create vegan easy Easter egg brownie bites by using flax eggs in place of regular eggs and substituting dairy butter with coconut oil or vegan butter. Replacing milk chocolate eggs with dark chocolate vegan alternatives ensures everyone at your gathering can enjoy these decadent delights!
Gluten-Free Alternatives
For those avoiding gluten, fear not! Transform your easy Easter egg brownie bites into a gluten-free version by simply swapping regular all-purpose flour with a gluten-free flour blend. Many blends perform wonderfully in brownie recipes, ensuring you don’t sacrifice taste or texture. Your guests won’t even notice the difference!
Whichever variation you choose, your Easter celebration is destined to be filled with sweet memories and delightful bites!
Cooking Tips and Notes for Easy Easter Egg Brownie Bites
Baking the perfect Easy Easter Egg Brownie Bites can turn a simple gathering into a sweet celebration. With a few insider tips, your brownies will be the star of the show!
Baking Tips for Perfect Brownies
- Don’t Overmix: Mix just until the ingredients are combined. Overmixing can lead to dense brownies instead of the fudgy texture we love.
- Test for Doneness: A toothpick inserted should come out with a few moist crumbs, not completely clean. This ensures your brownies stay rich and gooey.
- Use Quality Chocolate: Opt for high-quality cocoa powder or chocolate bars. The flavor truly shines through in the final product.
Frosting Tips for a Professional Look
- Cool Completely: Ensure your brownies are completely cool before frosting. This prevents the frosting from melting and helps it set beautifully.
- Use a Spatula: For smooth application, use an offset spatula to spread the frosting evenly. This step helps create a polished finish.
- Add Decorations: Consider topping with crushed nuts or colorful sprinkles to enhance the visual appeal of your Easy Easter Egg Brownie Bites.
Storage Tips to Keep Them Fresh
- Air-tight Container: Store your brownie bites in an airtight container at room temperature to maintain their moisture.
- Refrigerate for Longer Shelf Life: If you plan to keep them for more than a couple of days, refrigerate them. Just be sure to let them come back to room temperature before serving for the best taste.
By following these simple tips, you’ll ensure that your Easy Easter Egg Brownie Bites are not only delicious but also visually impressive, leaving your guests delighted and asking for more!

Serving Suggestions for Easy Easter Egg Brownie Bites
Bringing easy Easter egg brownie bites to the table means you’re in for a delightful treat! These little bites are not just a chocolate lover’s dream; they also present endless possibilities when it comes to serving.
Pair with Ice Cream
Imagine biting into a warm Easter egg brownie bite while a scoop of velvety vanilla ice cream slowly melts on top—pure bliss. The creaminess of the ice cream perfectly balances the rich chocolate of the brownie, creating a texture contrast that’s truly indulgent. For a fun twist, drizzle some chocolate or caramel sauce over the top. It’s a heavenly way to elevate your dessert game!
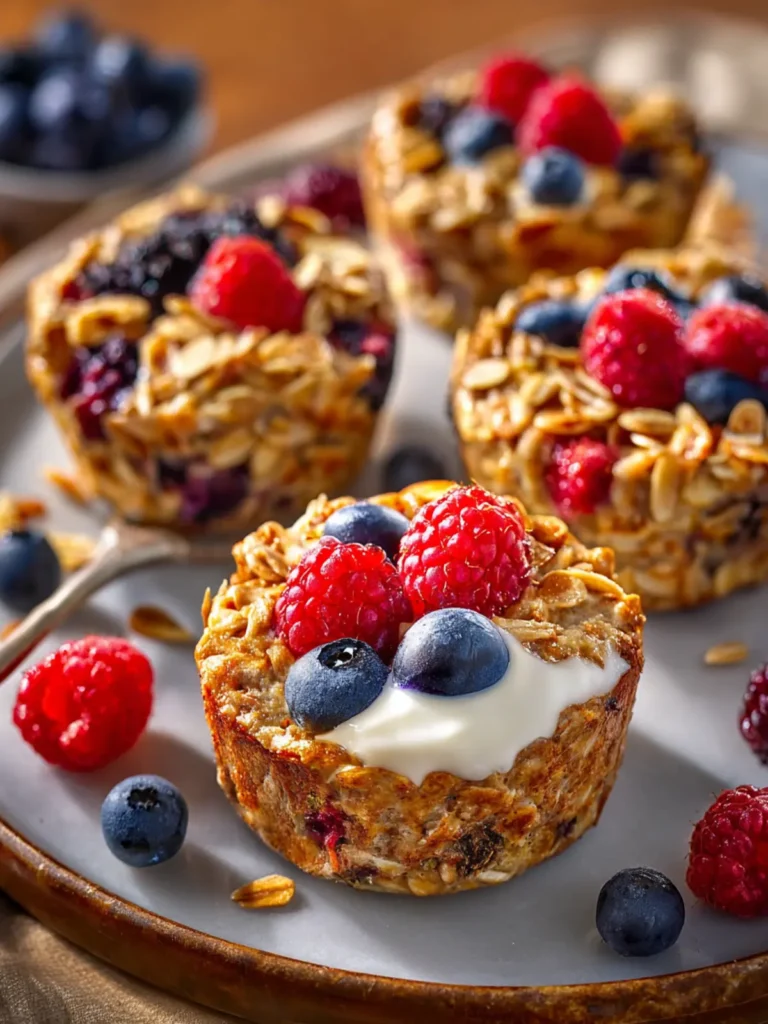
Serve with Fresh Berries
If you’re looking for a brighter touch, consider serving your easy Easter egg brownie bites alongside a medley of fresh berries. Strawberries, raspberries, or blueberries add a refreshing and tart contrast to the sweetness of the brownies. Plus, the vibrant colors make your plate look festive, perfect for spring gatherings.
Create a Brownie Bite Platter
For a show-stopping presentation, arrange your easy Easter egg brownie bites on a large platter, garnished with decorative elements like edible flowers or mint leaves. You might also include a variety of toppings—like whipped cream, sprinkles, or toasted nuts—as fun options for guests to customize their bites. This not only creates a visually appealing centerpiece but also encourages sharing and conversation—a perfect addition to any Easter celebration!
Time Breakdown for Easy Easter Egg Brownie Bites
Making easy Easter egg brownie bites is a delightful experience, and knowing the time commitment can really help you plan your festivities. Here’s how it breaks down:
Preparation Time
Allocate about 15 minutes to gather your ingredients and mix the batter for these indulgent brownie bites. This quick process lets you dive into the deliciousness without delay!
Baking Time
The brownies need approximately 20-25 minutes to bake. You’ll want to keep an eye on them to ensure that they achieve that perfect fudgy texture.
Cooling Time
After baking, allow the bites to cool in the pan for about 10 minutes. This step is crucial for achieving that ideal bite-sized treat without falling apart.
Total Time
From start to finish, you’re looking at roughly 50 minutes of joyful baking, making it a perfect addition to any Easter gathering. Enjoy the delicious journey!
Nutritional Facts for Easy Easter Egg Brownie Bites
Indulging in easy Easter egg brownie bites is a delightful treat, but it’s also essential to understand what you’re enjoying. These tasty bites not only satisfy your sweet tooth but also provide a bit of nutritional insight.
Calories per Serving
Each serving of these luscious brownie bites contains approximately 150 calories. This makes them a great option for a festive dessert without overdoing it.
Sugar Content
You can expect about 12 grams of sugar in every serving. This sweet balance comes from both the brownie ingredients and the Easter egg surprises inside, keeping them indulgent yet manageable.
Protein Levels
These delightful bites pack around 3 grams of protein per serving. While not a primary protein source, they offer a nice touch to energize you during your Easter festivities!
Understanding the nutritional profile of these easy Easter egg brownie bites helps you enjoy them guilt-free while celebrating with family and friends. Happy baking!
FAQs About Easy Easter Egg Brownie Bites
The charm of easy Easter egg brownie bites isn’t just in their delightful taste but also in how versatile they can be! Let’s dive into some frequently asked questions to help make your baking experience even sweeter.
Can I use different types of frosting?
Absolutely! While a classic buttercream or cream cheese frosting complements these brownie bites wonderfully, feel free to experiment. You could try:
- Chocolate Ganache: Rich and silky, it adds an indulgent touch.
- Whipped Cream: Light and fluffy, perfect for a spring treat.
- Peanut Butter Frosting: For a nutty twist that pairs beautifully with chocolate.
Mixing different frostings can also add a creative flair to your presentation.
How do I store leftover brownie bites?
Storing your delicious easy Easter egg brownie bites is simple. Place them in an airtight container at room temperature for up to three days. If you want to keep them longer, refrigerate them, and they can last up to a week. Just remember to let them come back to room temperature before enjoying them again for the best taste and texture.
Can I make these brownies in advance?
Definitely! In fact, prepping your brownie bites a day or two ahead of time can enhance their flavors. Just cover them tightly in plastic wrap or keep them in an airtight container. They’ll taste just as fresh when it’s time to indulge or serve them at your Easter gathering. Just warm them up slightly in the oven if you prefer them warm. Enjoy!
Conclusion on Easy Easter Egg Brownie Bites
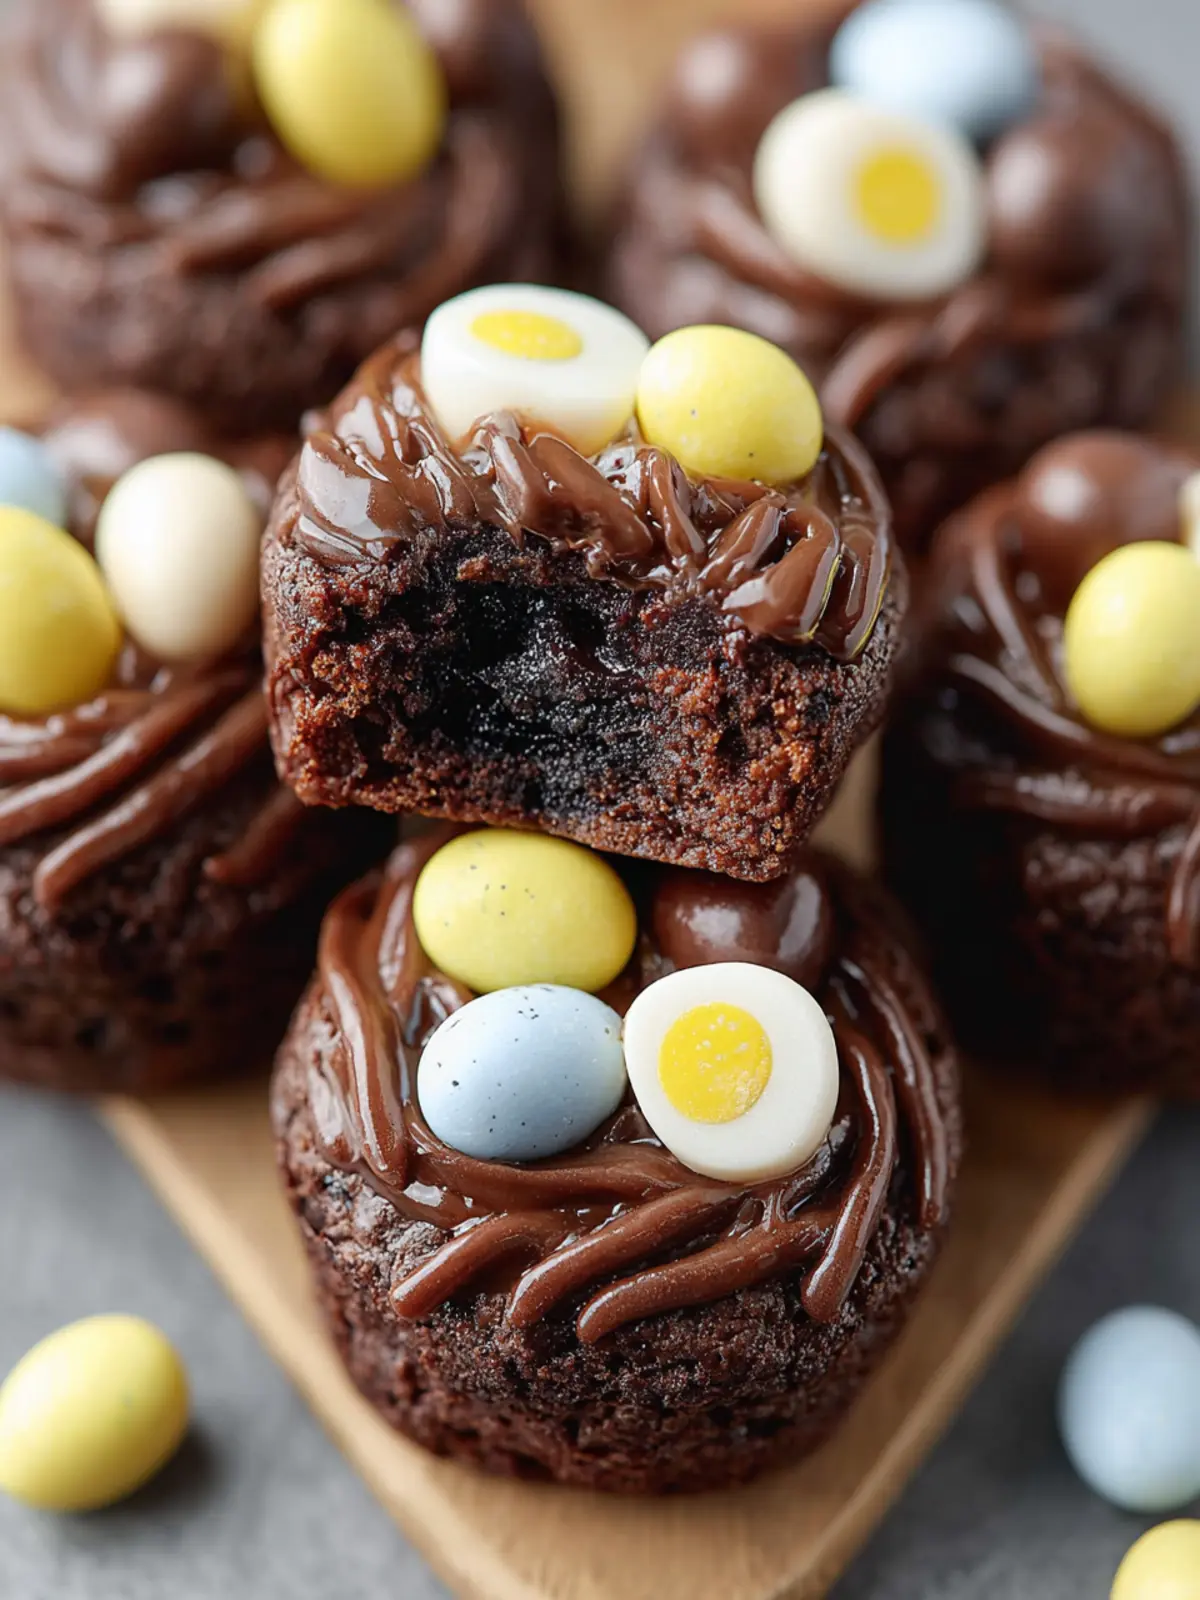
In wrapping up our adventure with easy Easter egg brownie bites, it’s clear that these delightful treats are perfect for both holiday gatherings and everyday celebrations. Their rich, fudgy texture combined with the surprise of chocolate-filled eggs creates a fun experience for everyone. Plus, they’re simple to make, ensuring you can whip up a batch with minimal effort. Remember, these bites can be customized with various toppings, making them versatile for any occasion. So gather your friends and family, and enjoy these sweet treats that are sure to bring smiles and joy all around!
Print
Easy Easter Egg Brownie Bites
- Total Time: 35 minutes
- Yield: 15 servings 1x
- Diet: Vegetarian
Description
Delicious brownie bites topped with chocolate frosting and decorated with mini eggs for a festive treat!
Ingredients
Scale
- 1 box fudge brownie mix (plus ingredients, I used Betty Crocker Brownie Mix Fudge)
- 1 tub chocolate frosting (I used Miss Jones Chocolate Frosting)
- 1 bag Cadbury mini eggs
Instructions
- Preheat your oven according to directions for your boxed brownie mix and then spray a muffin tin pan with non-stick cooking spray or you can use cupcake liners in your muffin tin pan and lightly spray with non-stick cooking spray if you desire.
- Scoop the brownie mix into each of the muffin tins. I found it was easy to use a large cookie scoop (1/4 cup) to do this and it also ensures they are all the same size.
- It will take anywhere from 20-25 minutes @ 350 degrees to bake the brownies in the muffin tins. Bake longer if needed and depending on the brownie mix you are using you may have to adjust the time and temperature.
- Once the brownies are baked, let them cool completely before frosting them.
- To frost, mix up the frosting to get it smooth and creamy and then place it in a pastry bag with a small star tip. Start piping some circles on top of the brownies, then fill in the middle with some frosting, so it looks like you have a nest.
- To decorate, add 3 mini eggs in the center of each nest and voila! Enjoy!
Notes
- Using a cookie scoop helps keep the brownie bites uniform in size.
- Adjust baking time based on your specific brownie mix instructions.
- Prep Time: 10 minutes
- Cook Time: 25 minutes
- Category: Dessert
- Method: Baking
- Cuisine: American
Nutrition
- Serving Size: 1 brownie bite
- Calories: 150
- Sugar: 18g
- Sodium: 150mg
- Fat: 7g
- Saturated Fat: 2.5g
- Unsaturated Fat: 3.5g
- Trans Fat: 0g
- Carbohydrates: 21g
- Fiber: 1g
- Protein: 1g
- Cholesterol: 15mg